How To Master Stihl FSA 60 R String Replacement: A Comprehensive Guide
Imagine this: You're in the middle of some serious yard work, and suddenly—snap!—your trimmer line breaks. Panic sets in as you realize you have no idea how to fix it. But don't sweat it, friend. The Stihl FSA 60 R string replacement process is easier than you think. With this ultimate guide, you’ll be back in action in no time.
Listen up, folks. If you own a Stihl FSA 60 R, knowing how to replace the string is an essential skill. Whether you're a seasoned pro or a newbie, this guide will walk you through every step of the process. Trust me, by the end of this, you'll feel like a lawn care wizard.
Now, why is mastering the Stihl FSA 60 R string replacement so important? Well, let's face it—your trimmer is one of the most crucial tools for keeping your yard looking sharp. And when that string breaks, it can bring your entire landscaping game to a screeching halt. But with the right knowledge and a bit of practice, you'll never be caught off guard again.
Read also:Bolly4you Com Movies Hindi Your Ultimate Guide To Hindi Cinema
Understanding the Stihl FSA 60 R
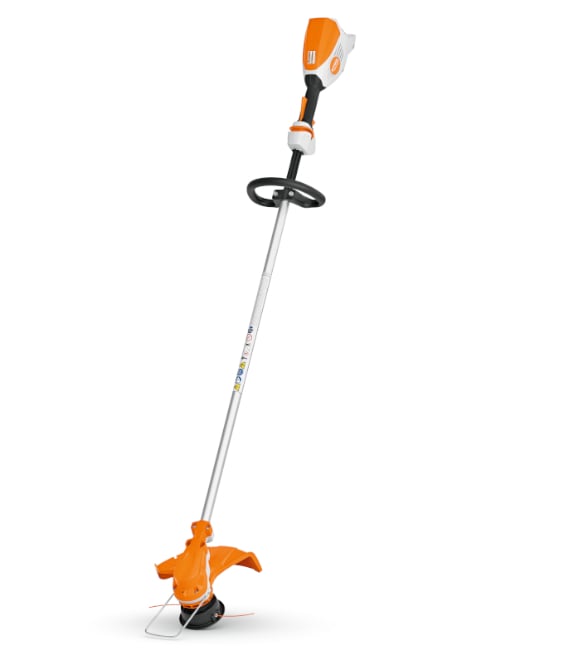
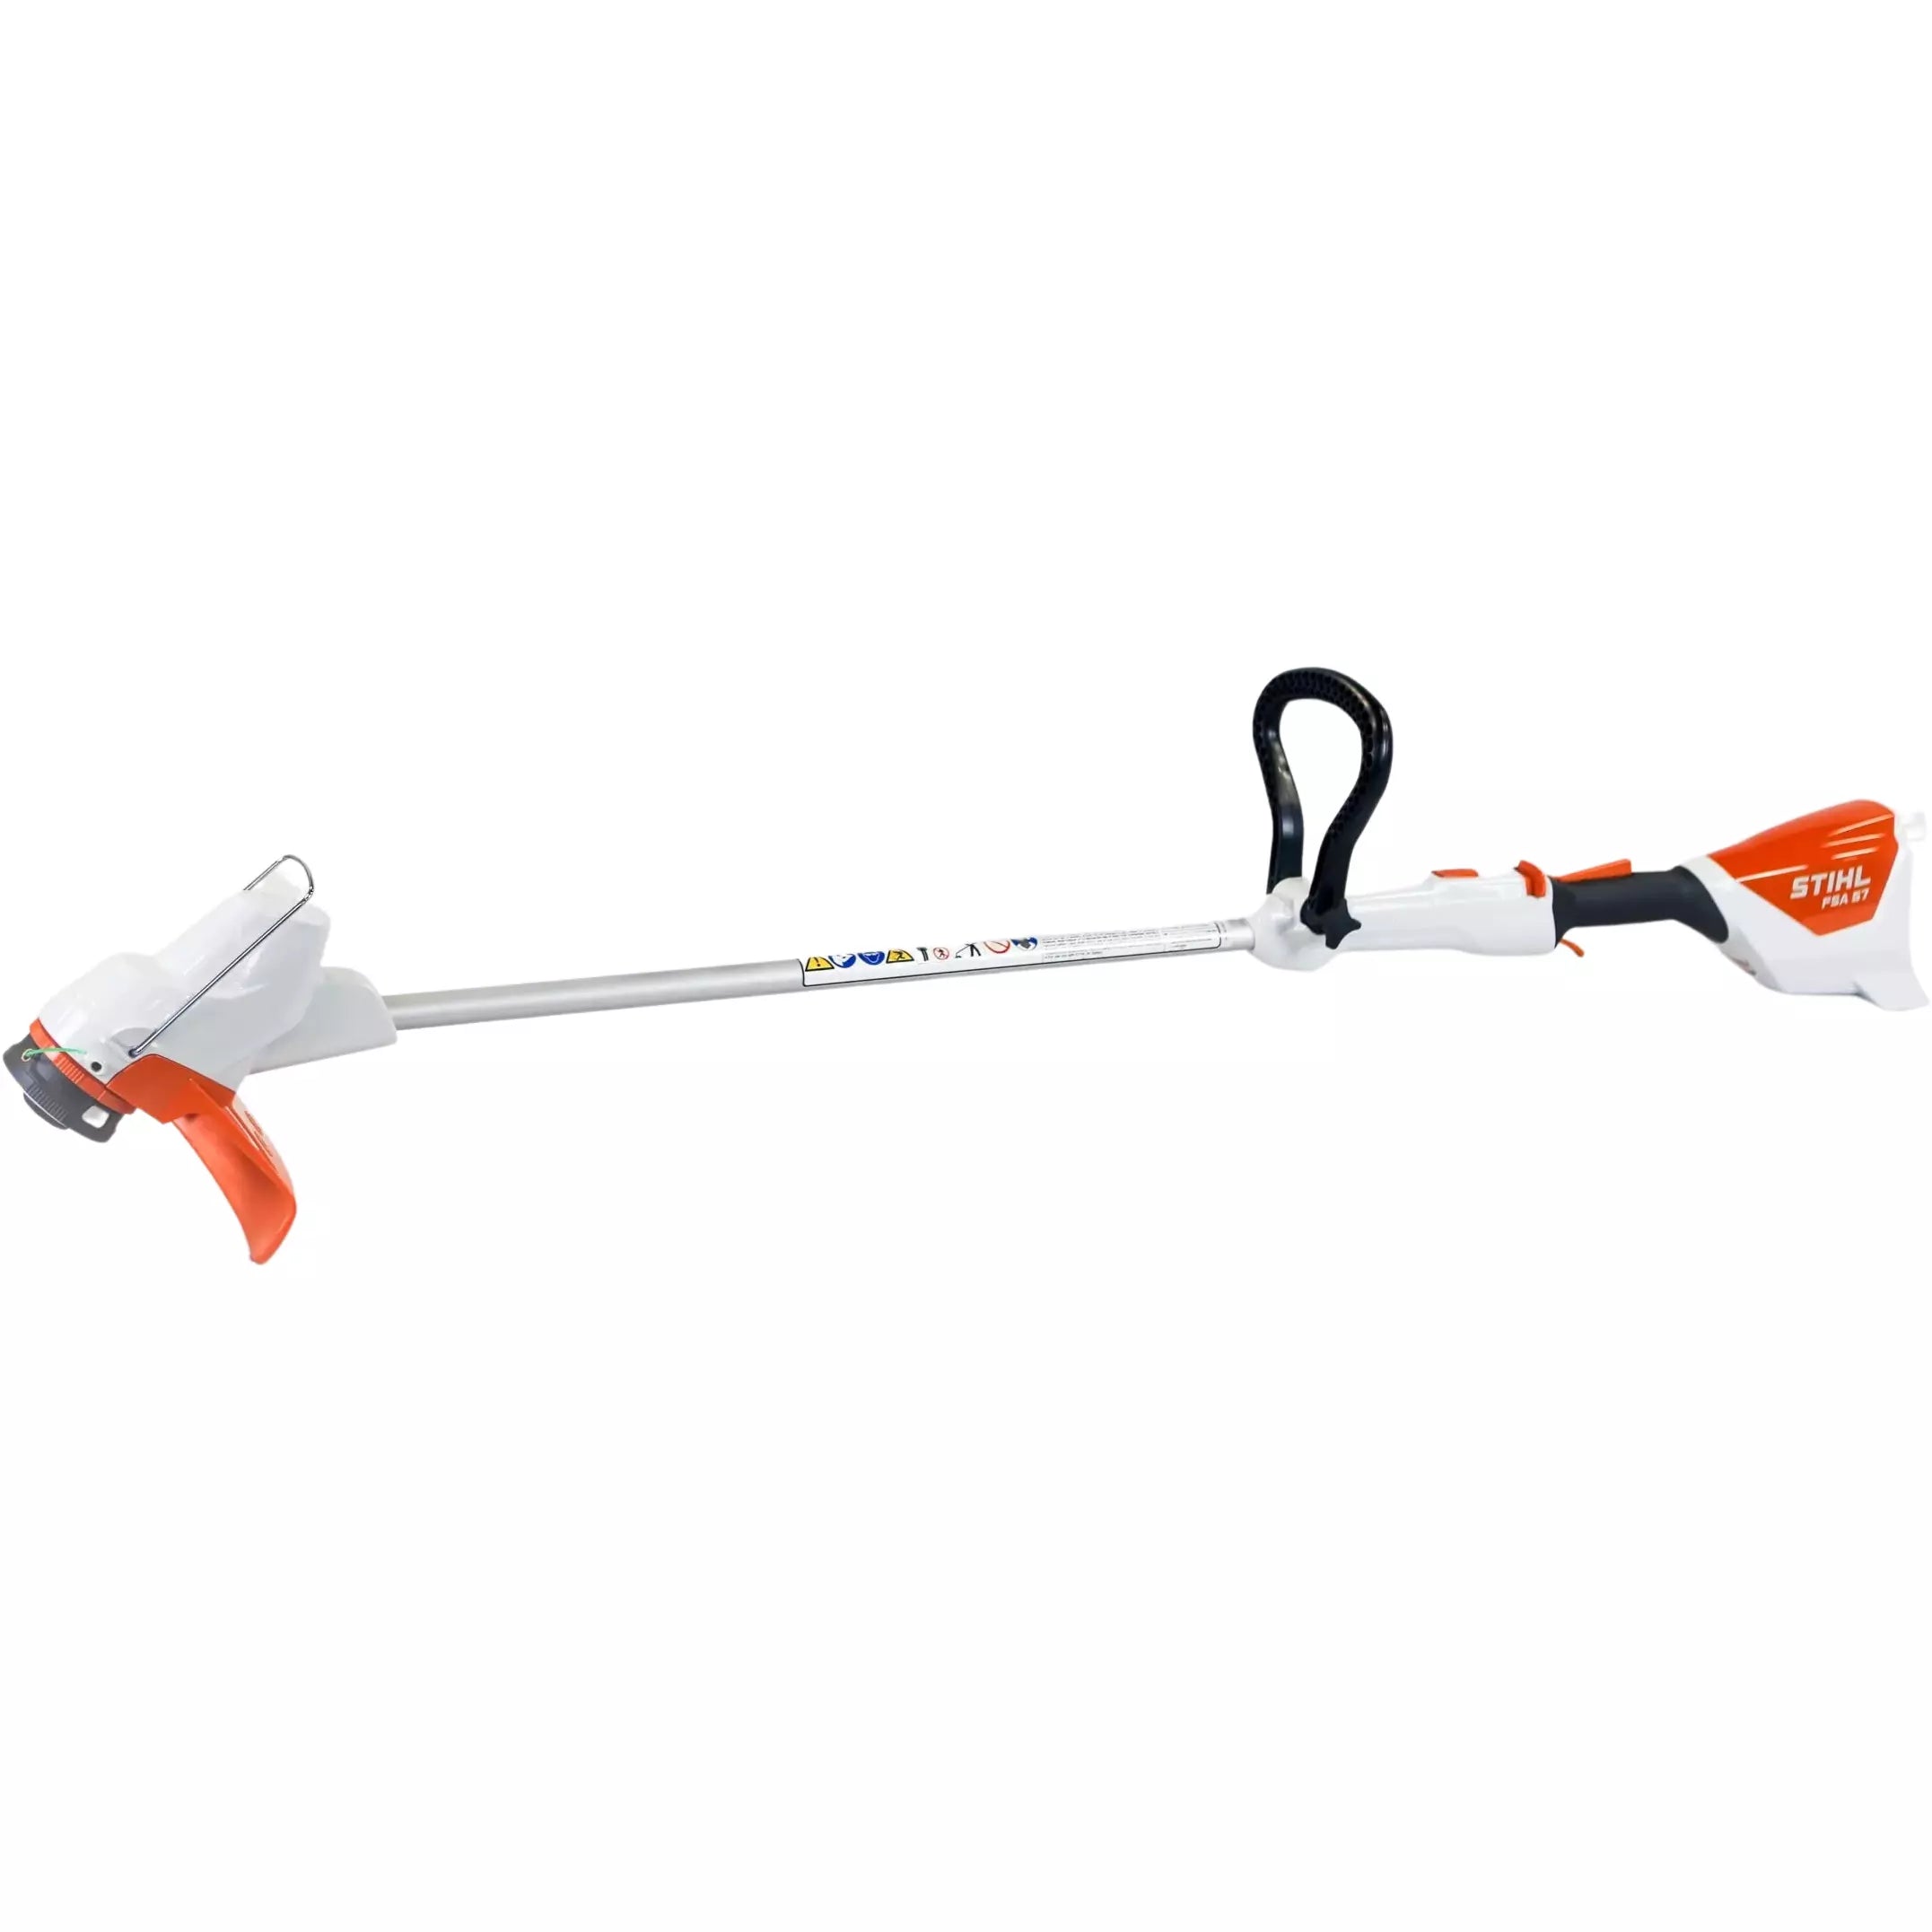
Before we dive into the nitty-gritty of string replacement, it's important to get familiar with the Stihl FSA 60 R itself. This bad boy is part of Stihl's battery-powered lineup, designed for both residential and professional use. It's lightweight, powerful, and super easy to handle. But like any tool, it requires a bit of TLC to keep it running smoothly.
Here are a few key features of the Stihl FSA 60 R:
- Battery-powered for cordless convenience
- Automatic feed spool for effortless trimming
- Ergonomic design for comfort during long use
- QuickStop automatic braking system for safety
Understanding these features will help you appreciate why proper maintenance, especially string replacement, is vital for optimal performance.
Why String Replacement Matters
Let’s talk turkey here. The string on your Stihl FSA 60 R is the workhorse of the tool. Without it, your trimmer is just a fancy stick. Over time, the string wears down and eventually breaks. That's why knowing how to replace it is crucial.
Here’s why mastering the string replacement process is a game-changer:
- Keeps your trimmer in top-notch condition
- Saves you money by avoiding unnecessary repairs
- Ensures your yard work stays on schedule
Trust me, once you get the hang of it, you'll wonder why you ever hesitated to learn this skill.
Read also:Why You Should Ditch Vegamoviessi For Better Entertainment Options
Tools You’ll Need
Before you start the string replacement process, gather your tools. You don’t need much, but having the right gear makes all the difference. Here’s what you’ll need:
- Replacement trimmer line (0.095 inch diameter recommended)
- A pair of scissors or a knife
- A small screwdriver (optional, for stubborn spools)
- Your Stihl FSA 60 R, obviously
Got everything? Good. Now let’s move on to the fun part.
Step-by-Step Guide to String Replacement
Alright, buckle up. Here’s a step-by-step breakdown of how to replace the string on your Stihl FSA 60 R:
Step 1: Turn Off the Trimmer
This might sound obvious, but it’s crucial. Make sure your Stihl FSA 60 R is completely powered off and disconnected from its battery. Safety first, always.
Step 2: Remove the Spool Cover
Locate the spool cover at the bottom of the trimmer head. Give it a firm twist counterclockwise to remove it. If it’s being stubborn, use your screwdriver to help loosen it.
Step 3: Take Out the Spool
Once the cover is off, gently pull the spool out of the housing. You might need to wiggle it a bit to get it loose. Don’t force it—patience is key here.
Step 4: Clear the Spool
Check the spool for any old string or debris. Use your fingers or a small brush to clean it out. A clean spool ensures smooth operation.
Step 5: Measure and Cut the New String
Cut two pieces of replacement string, each about 10 feet long. This length gives you plenty of room to work with without wasting material.
Step 6: Thread the String
Insert one end of the string into one of the holes on the spool. Follow the grooves on the spool to wind the string neatly. Leave about 6 inches of string sticking out of the hole. Repeat the process for the second string on the opposite side.
Step 7: Reassemble the Spool
Place the spool back into the housing, ensuring the strings are aligned with the exit holes. Push the spool cover back on and twist it clockwise to secure it in place.
Step 8: Test the String
Turn on your Stihl FSA 60 R and give it a test run. If the string feeds smoothly and doesn’t jam, congratulations—you’ve successfully replaced it!
Tips and Tricks for Success
Here are a few extra tips to make the string replacement process even smoother:
- Always use the recommended string diameter for your model.
- Keep extra spools on hand for quick swaps.
- Regularly check the string length during use to prevent breakage.
These little tricks can save you a lot of headaches in the long run.
Common Issues and Solutions
Even with the best intentions, things can go wrong. Here are some common issues you might encounter during string replacement and how to fix them:
Issue: String Won’t Feed
Solution: Make sure the string is properly wound and aligned with the exit holes. If the problem persists, check the spool for damage.
Issue: String Breaks Easily
Solution: Use high-quality string and avoid over-tightening it during winding.
Issue: Spool Won’t Spin
Solution: Clean the spool and housing thoroughly. Check for any obstructions or damage.
By addressing these issues promptly, you’ll keep your Stihl FSA 60 R in peak condition.
Understanding Stihl FSA 60 R Maintenance
Maintaining your Stihl FSA 60 R goes beyond just string replacement. Regular upkeep ensures longevity and optimal performance. Here are a few maintenance tips:
- Clean the trimmer head after each use.
- Check the battery charge regularly.
- Inspect the blades for wear and tear.
Proper maintenance not only extends the life of your tool but also keeps it working efficiently.
Why Stihl FSA 60 R is a Game-Changer
Let’s talk about why the Stihl FSA 60 R is such a popular choice among homeowners and professionals alike. Its battery-powered design eliminates the hassle of gas or cords, making it incredibly convenient. Plus, its lightweight build and ergonomic design make it a breeze to use for extended periods.
But perhaps the most significant advantage is its reliability. With proper care, including regular string replacement, your Stihl FSA 60 R will serve you well for years to come.
Conclusion
And there you have it—a comprehensive guide to mastering Stihl FSA 60 R string replacement. By following these steps and tips, you’ll never be caught off guard by a broken string again. Remember, practice makes perfect, so don’t hesitate to give it a try.
Now, here’s the deal—this guide isn’t just about fixing your trimmer. It’s about empowering you to take control of your yard care and save money in the process. So, what are you waiting for? Grab your tools and get to work!
Before you go, I’d love to hear from you. Did this guide help you? Do you have any tips of your own to share? Drop a comment below and let’s keep the conversation going. And while you’re at it, don’t forget to share this article with your fellow yard care enthusiasts. Together, we can conquer the world—one yard at a time!
Table of Contents
Need a quick jump to a specific section? Use the links below:
Article Recommendations